Creating Custom Shaders in Flutter: A Step-by-Step Guide
In computer graphics, a shader is a computer program that calculates the appropriate levels of light, darkness, and color during the rendering of a 3D scene — a process known as shading.
Shaders uses GLSL (OpenGL Shading Language). This blog post will discuss how to create custom shaders in Flutter using GLSL.
What is GLSL?
GLSL is a high-level shading language that is used to program the Graphics Processing Unit (GPU) in a manner that allows for custom visual effects and rendering. This language is similar to C, and it is designed to work in real-time environments, such as video games and animations.
Let’s Start
In order to create a shader we need to write code in GLSL so let’s skip the glsl coding part and let’s pick an already coded glsl and modify it so it will work with our flutter app
Shadertoy is a place where we have multiple shader code available we can pick and modify to run on flutter
So for this blog post i am picking this https://www.shadertoy.com/view/ctSSDR
below is the code for the original shader from shadertoy website
Now in order to get it working with the flutter we need to modify few areas of the code
Above is the modified code few changes we made are:
1. Added flutter runtime import
#include <flutter/runtime_effect.glsl>2. Added 4 new paramerts
uniform vec2 uSize;
uniform float iTime;
vec2 iResolution;

out vec4 fragColor;
All variables mentioned as uniform need to be passed from the Flutter while using the shader program
The uniform vec2 uSize is a uniform variable that stores the size of the object being rendered. It is a constant value that is passed from the Flutter.
The uniform float iTime is also a uniform variable that stores the time elapsed since the shader was started. This variable is used to animate the visual effects in the shader.
The vec2 iResolution is a variable that stores the screen resolution. It is used to adjust the size and position of the objects being rendered.
The out vec4 fragColor is an output variable that stores the final color of the object being rendered. The value of this variable is then passed back to the CPU to be displayed on the screen.
3. Lastly update the main Function name and added two assignments inside the main function
void main(void) {

    iResolution = uSize;
    vec2 fragCoord = FlutterFragCoord();

    // ...
    // ...
}
we will get FlutterFragCoord() from the flutter runtime import
Save the final code in the a file with .frag extension and add it to pubspec.yaml so we can use it in the flutter
Let’s Code flutter now
Step1: We need to add the shader to flutter pubspec.yaml like below under flutter
flutter:
  shaders:
    - shaders/shader.frag
Step 2: We need to Create a ShaderPainter which is a custom painter extends CustomPainter
If we notice the code we are passing the uniform variables using setFloat on the FragmentShader
shader.setFloat(0, size.width);
shader.setFloat(1, size.height);
shader.setFloat(2, time);
Step 3: We need to create a StatefulWidget in which we read the shader from the frag file and had it over to the SahderPainter as a FragmentShader
I we notice we are mainly concentrated on only only function i.e., loadMyShader which is reading the shader from assets and get the FragmentShader from FragmentProgram and assing it to the shader variable and also runs a Timer so we can animate if needed.
late Timer timer;
double delta = 0;
FragmentShader? shader;
void loadMyShader() async {
var program = await FragmentProgram.fromAsset('shaders/shader.frag');
shader = program.fragmentShader();
setState(() {
// trigger a repaint
});
timer = Timer.periodic(const Duration(milliseconds: 16), (timer) {
setState(() {
delta += 1 / 60;
});
});
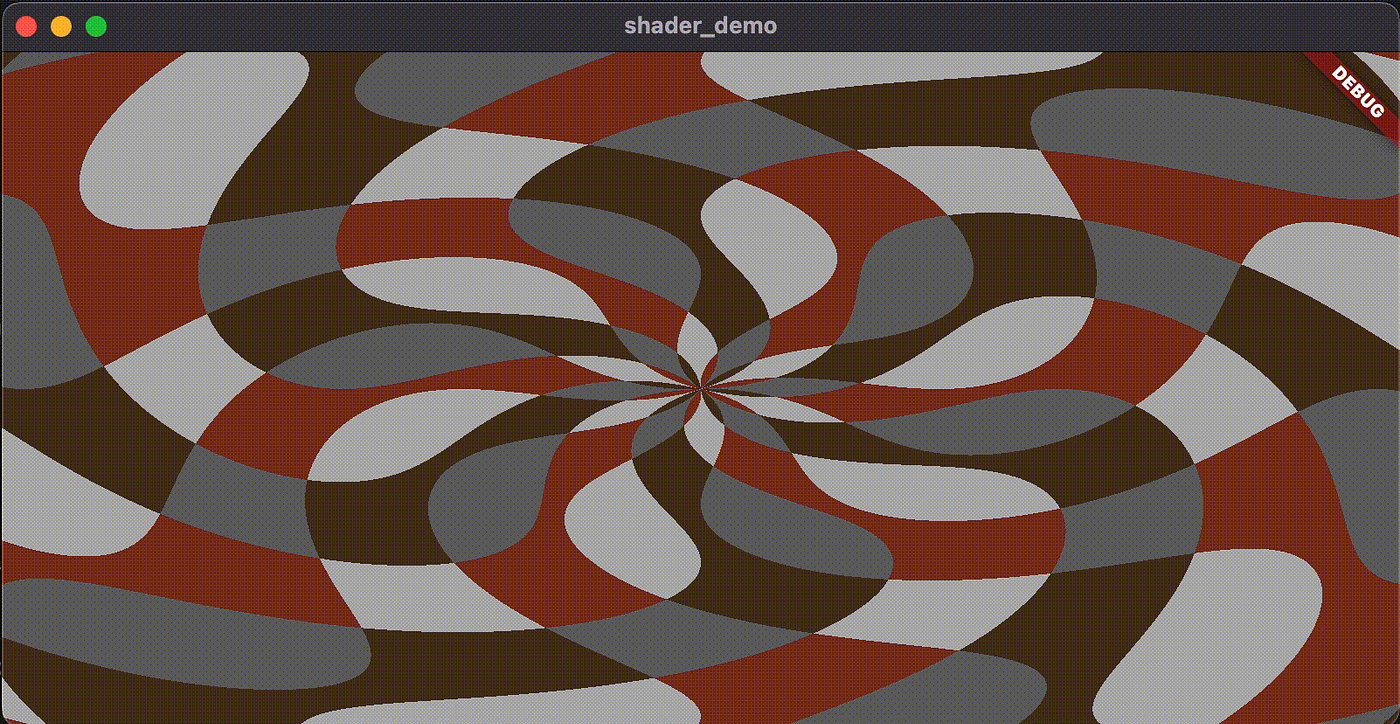
}Here is the demo of the final code
Demo code can be access here on github https://github.com/ponnamkarthik/shader_demo
Final Words
The information provided in this description is a comprehensive guide that should help someone new to custom shaders in Flutter understand the process and get started creating their own custom shaders.
This post only helps to convert the very basic glsl code to work with the flutter we can also try to convert advanced glsl code to using which requires taking an image from the us and manipulating it pixel by pixel and rendering awesome illustrations
Next Step
In the next post i will try to bring the the conversion of a complex shader which involves the manipulation of the an image from user.
Thanks for your time.

Hope you like it, if yes clap & share.

